How to Make Ghee at Home Using Malai: A Traditional Kitchen Secret
If you want rich, flavorful ghee, using fresh malai is the best way. This old-school method not only saves money but also gives you pure, aromatic ghee just like the one made in traditional Indian homes.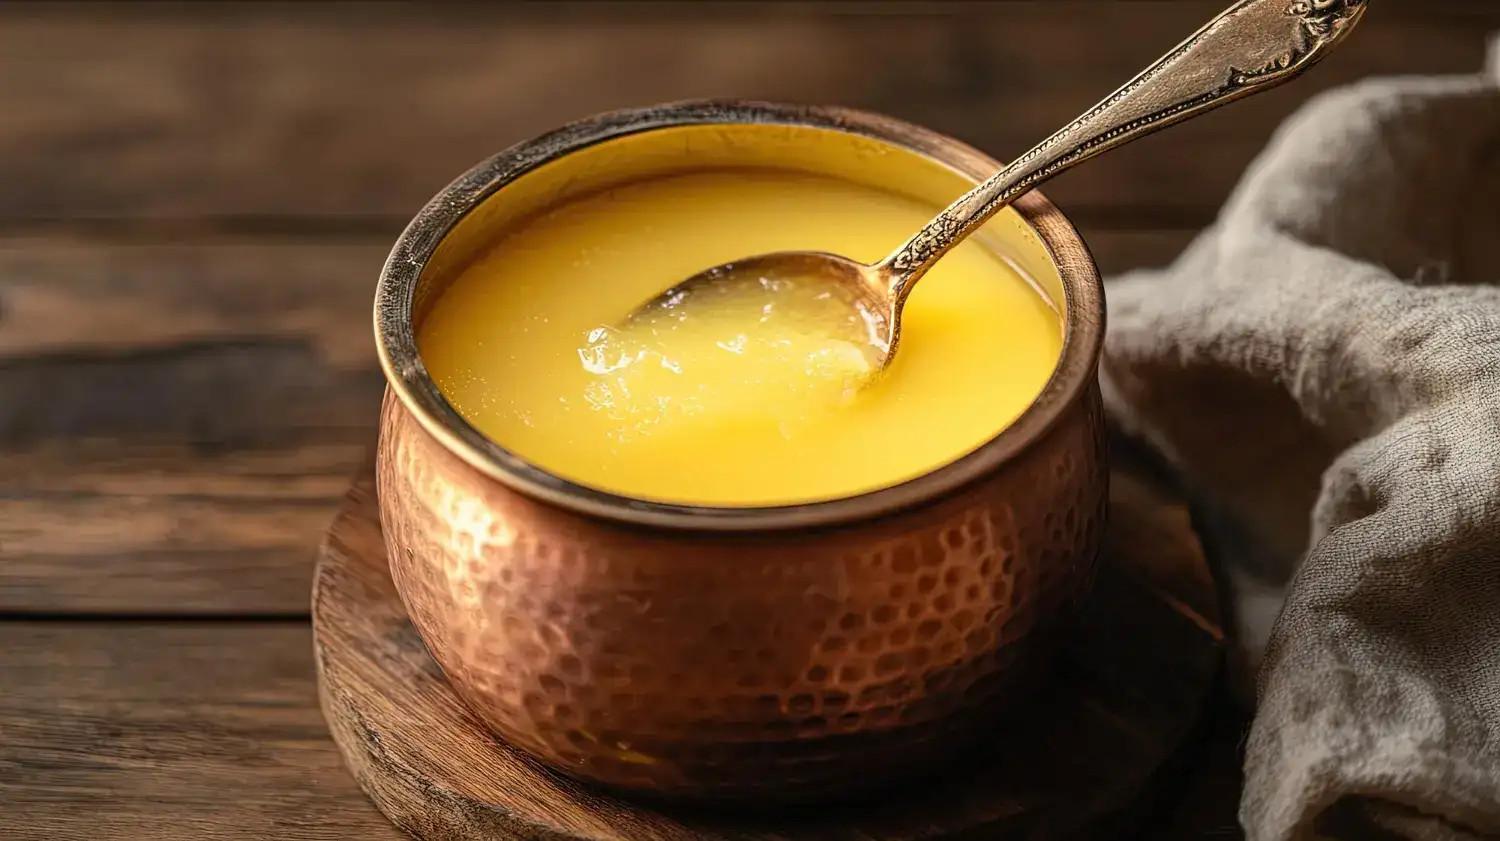
Step 1: Collect the Malai
Every time you boil milk, let it cool and collect the thick layer of malai from the top. Store it in a container in the fridge and keep adding to it daily until you have enough.
Step 2: Turn Malai into Butter
Once you have a good amount, take the malai out and let it come to room temperature. Add a little cold water and churn it using a mixer or hand blender.
Slowly, the butter will separate from the liquid (buttermilk).
Step 3: Separate the Butter
Collect the butter and rinse it with cold water to remove any leftover buttermilk. This step helps increase the shelf life of your ghee.
Step 4: Heat the Butter
Transfer the butter to a heavy pan and cook it on low heat. It will melt, bubble, and gradually turn golden.
Step 5: Watch for the Perfect Stage
As it cooks, milk solids will settle at the bottom and the liquid will become clear with a nutty aroma. Once the bubbling reduces and the color turns golden, switch off the flame.
Step 6: Strain and Store
Let it cool slightly, then strain into a clean, dry jar. Your homemade ghee is ready to use!
Extra Tips for Best Results
Why This Method is Worth It
Making ghee from malai gives a deeper aroma and authentic taste. Plus, you also get fresh buttermilk as a healthy bonus!
This simple kitchen habit turns everyday milk into something truly special. With a little patience, you’ll have pure, homemade ghee that’s healthier, tastier, and full of tradition.
Step 1: Collect the Malai
Every time you boil milk, let it cool and collect the thick layer of malai from the top. Store it in a container in the fridge and keep adding to it daily until you have enough. Step 2: Turn Malai into Butter
Once you have a good amount, take the malai out and let it come to room temperature. Add a little cold water and churn it using a mixer or hand blender.Slowly, the butter will separate from the liquid (buttermilk).
Step 3: Separate the Butter
Collect the butter and rinse it with cold water to remove any leftover buttermilk. This step helps increase the shelf life of your ghee.Step 4: Heat the Butter
Transfer the butter to a heavy pan and cook it on low heat. It will melt, bubble, and gradually turn golden. Step 5: Watch for the Perfect Stage
As it cooks, milk solids will settle at the bottom and the liquid will become clear with a nutty aroma. Once the bubbling reduces and the color turns golden, switch off the flame. Step 6: Strain and Store
Let it cool slightly, then strain into a clean, dry jar. Your homemade ghee is ready to use! Extra Tips for Best Results
- Always cook on low flame to avoid burning
- Use slightly sour malai for better butter separation
- Store in an airtight container for long-lasting freshness
Why This Method is Worth It
Making ghee from malai gives a deeper aroma and authentic taste. Plus, you also get fresh buttermilk as a healthy bonus!This simple kitchen habit turns everyday milk into something truly special. With a little patience, you’ll have pure, homemade ghee that’s healthier, tastier, and full of tradition.
Next Story