Manicure Magic: How To Achieve Salon-Worthy Nails at Home

Getting a salon-quality manicure at home is easier than you might think. With a few simple steps and the right tools, you can achieve flawless nails without the need for a professional. Here’s your ultimate guide to nailing the perfect at-home manicure .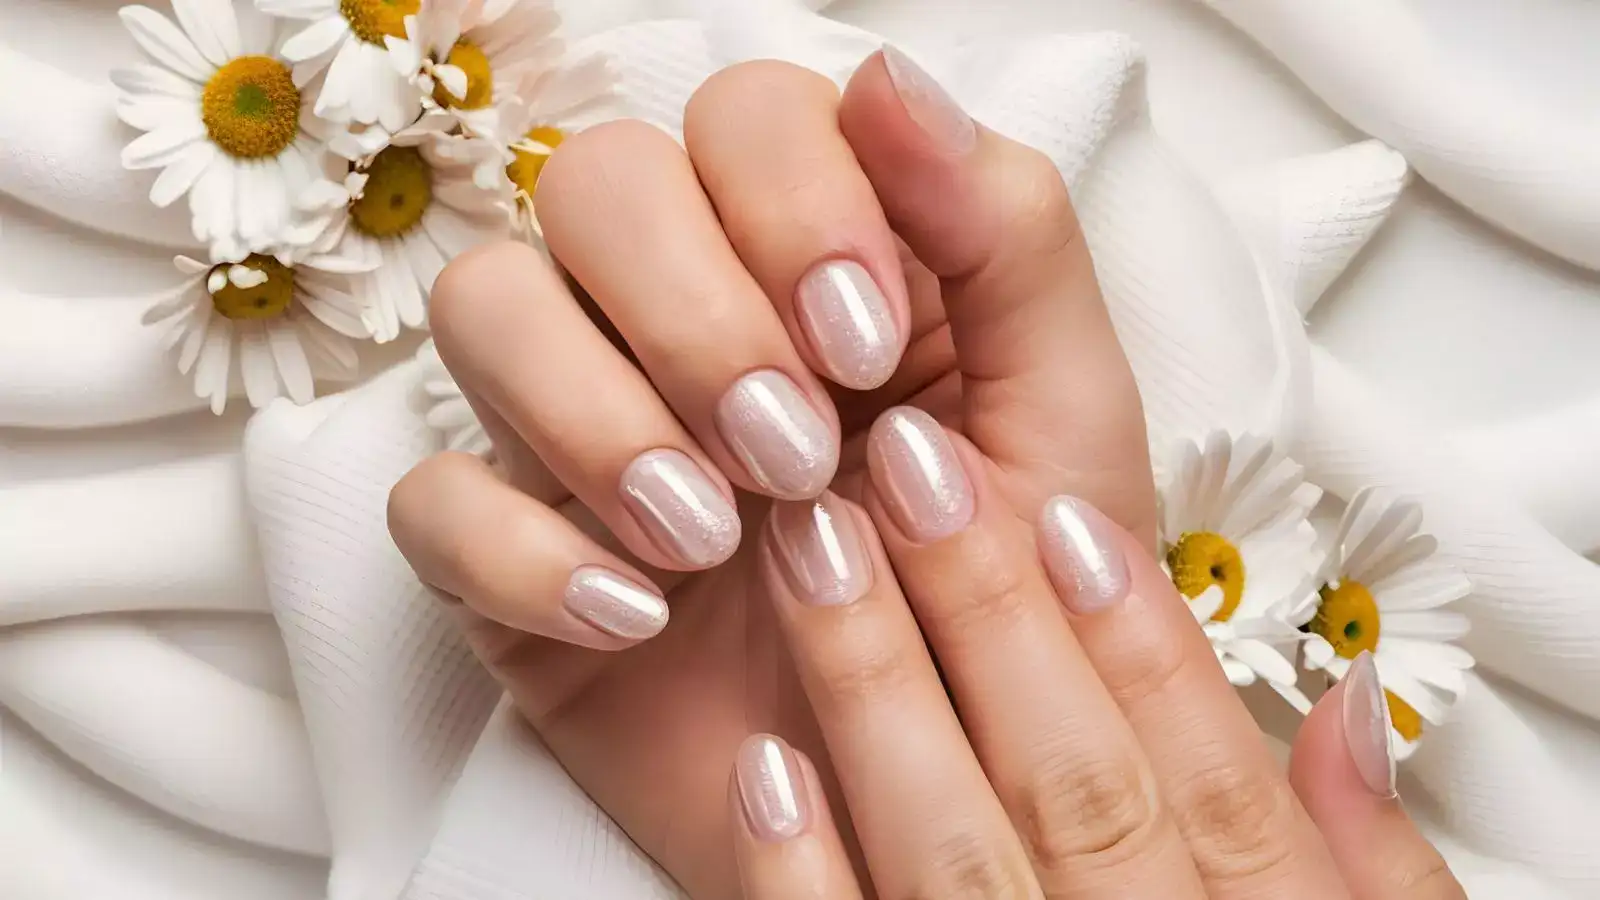
1. Gather Your Tools
Before you begin, make sure you have all the necessary tools. You’ll need:
Nail polish remover
Nail clippers
Nail file
Cuticle pusher
Cuticle oil
Buffer
Base coat
Nail polish
Top coat
Moisturizer
Having everything ready will make the process smoother and more enjoyable.
2. Prep Your Nails
Start by removing any old polish with a non-acetone nail polish remover, which is less drying to your nails. Clip and file your nails to your desired shape—whether you prefer square, oval, or almond, take your time to get the shape just right. Use a nail buffer to smooth the surface of your nails, ensuring an even canvas for the polish.
3. Care for Your Cuticles
Soak your hands in warm, soapy water for a few minutes to soften your cuticles. Gently push back the cuticles with a cuticle pusher—avoid cutting them, as this can lead to infections. Apply a drop of cuticle oil to nourish and keep them healthy.
4. Apply the Base Coat
A good base coat is essential for a long-lasting manicure. It protects your nails from staining and helps the polish adhere better. Apply a thin layer and let it dry completely before moving on to the next step.
5. Polish Like a Pro
When applying nail polish, start with a thin coat in the middle of your nail, then fill in the sides. For a professional finish, it’s better to apply two thin coats rather than one thick one. Make sure each layer is completely dry before applying the next to avoid smudges and streaks.
6. Seal the Deal with a Top Coat
A top coat adds shine and helps protect your manicure from chipping. Be sure to cover the edges of your nails to seal in the polish. This step is crucial for making your manicure last longer and look professionally done.
7. Moisturize
After your polish has dried, finish with a hydrating hand cream to keep your skin soft and smooth. Regular moisturizing will help maintain the health of your nails and cuticles.
8. Clean Up Any Mistakes
If you’ve accidentally painted outside the lines, don’t worry! Dip a small brush or cotton swab in nail polish remover and carefully clean up the edges for a neat finish.
To prolong your manicure, avoid soaking your nails in water for too long and wear gloves when doing household chores. With practice and a little patience, your at-home manicure will look just as good as a professional one.
Getting the perfect manicure at home is not only satisfying but also a great way to practice self-care. Follow these steps, and you’ll be flaunting flawless nails in no time!
1. Gather Your Tools
Before you begin, make sure you have all the necessary tools. You’ll need:
Nail polish remover
Nail clippers
Nail file
Cuticle pusher
Cuticle oil
Buffer
Base coat
Nail polish
Top coat
Moisturizer
Having everything ready will make the process smoother and more enjoyable.
2. Prep Your Nails
Start by removing any old polish with a non-acetone nail polish remover, which is less drying to your nails. Clip and file your nails to your desired shape—whether you prefer square, oval, or almond, take your time to get the shape just right. Use a nail buffer to smooth the surface of your nails, ensuring an even canvas for the polish.
3. Care for Your Cuticles
Soak your hands in warm, soapy water for a few minutes to soften your cuticles. Gently push back the cuticles with a cuticle pusher—avoid cutting them, as this can lead to infections. Apply a drop of cuticle oil to nourish and keep them healthy.
4. Apply the Base Coat
A good base coat is essential for a long-lasting manicure. It protects your nails from staining and helps the polish adhere better. Apply a thin layer and let it dry completely before moving on to the next step.
You may also like
- Solar Panel: What is the cost of installing a 1 kW solar panel, and how long does it take to recover the investment?
- Install Solar Panels on Your Roof: Delhi's Electricity Scheme Portal Launched – How to Register?
- Failure to Collect Rations Could Lead to Deactivation; Government to Suspend 5.5 Lakh Ration Cards
- Forgot your Aadhaar card while traveling by train? Your digital Aadhaar on your mobile can help—here's how.
- UGC Revises Rules: MPT and MOT Degrees to Include Specialization
5. Polish Like a Pro
When applying nail polish, start with a thin coat in the middle of your nail, then fill in the sides. For a professional finish, it’s better to apply two thin coats rather than one thick one. Make sure each layer is completely dry before applying the next to avoid smudges and streaks.
6. Seal the Deal with a Top Coat
A top coat adds shine and helps protect your manicure from chipping. Be sure to cover the edges of your nails to seal in the polish. This step is crucial for making your manicure last longer and look professionally done.
7. Moisturize
After your polish has dried, finish with a hydrating hand cream to keep your skin soft and smooth. Regular moisturizing will help maintain the health of your nails and cuticles.
8. Clean Up Any Mistakes
If you’ve accidentally painted outside the lines, don’t worry! Dip a small brush or cotton swab in nail polish remover and carefully clean up the edges for a neat finish.
To prolong your manicure, avoid soaking your nails in water for too long and wear gloves when doing household chores. With practice and a little patience, your at-home manicure will look just as good as a professional one.
Getting the perfect manicure at home is not only satisfying but also a great way to practice self-care. Follow these steps, and you’ll be flaunting flawless nails in no time!






Loving Newspoint? Download the app now