
How to Create a Soft-Focus Makeup Look Without Heavy Foundation

A soft-focus makeup look is all about creating a smooth, naturally polished appearance without covering your skin with thick layers of foundation. It combines lightweight complexion products, softly blended colours and a balanced finish that looks neither overly shiny nor completely flat. Instead of trying to hide every pore or mark, this makeup technique focuses on evening out the complexion while allowing natural skin texture to remain visible. The result is a fresh, diffused finish that works for everyday wear, office makeup, brunches and special occasions. With the right products and application techniques, you can achieve this look without a heavy base.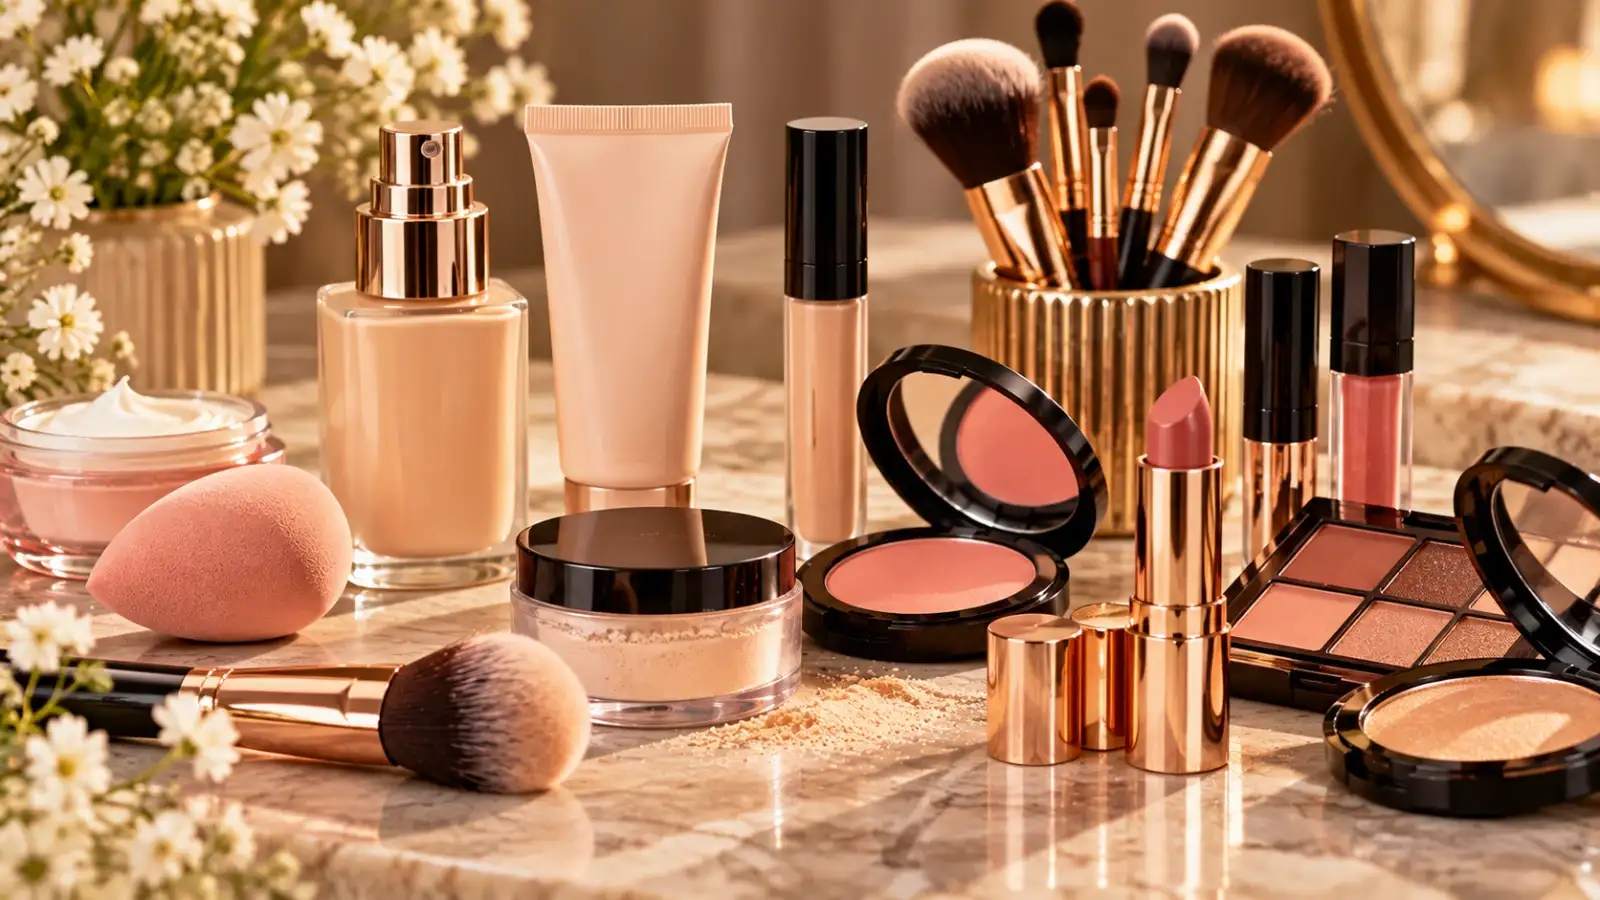
The technique is not about making your skin look completely poreless. Instead, it uses light coverage, strategic product placement and careful blending to soften the appearance of uneven tone and texture.
A lightweight skin tint, a small amount of concealer and a little setting powder can often do more for this look than several layers of full-coverage foundation.
If you are getting ready during the day, apply broad-spectrum sunscreen as the final step of your skincare routine. Allow your skincare layers to settle before moving on to makeup.
Avoid applying too much moisturiser immediately before makeup, particularly if your products tend to pill or separate. If your skin feels comfortable and hydrated, you can move on to the next step.
Choose a formula that suits your skin type and desired finish. A hydrating tint may work well for dry skin, while an oil-controlling or natural-matte formula may suit people who experience excess shine.
Apply a small amount to the centre of your face and blend it outwards using clean fingers, a brush or a slightly damp makeup sponge. Concentrating product where you need it prevents unnecessary buildup around the hairline and jaw.
If you prefer to skip foundation altogether, you can use concealer only where you want additional coverage.
Choose a shade that blends with your complexion for covering spots. For the under-eye area, select a suitable shade that brightens without creating an obvious contrast with the rest of your face.
Tap the product gently with your fingertip or a small brush, then blend the edges until they disappear into the surrounding skin. If you need more coverage, build it gradually rather than applying a large amount at once.
The aim is to soften the appearance of imperfections, not to make every part of your complexion look identical.
You do not need to apply primer across your entire face. Use a small amount only where you want to soften the appearance of texture or help makeup sit more evenly.
If your moisturiser and skin tint already work well together, you can skip this step. Adding more products does not automatically produce a better finish.
Choose a shade that complements your skin tone, such as soft pink, peach, rose or terracotta. For deeper complexions, richer berry and warm plum shades can also work beautifully.
Apply a small amount to the cheeks and blend upwards towards the temples. Use gentle tapping motions to soften the edges instead of leaving a clearly defined patch of colour.
If you prefer powder blush, use a fluffy brush and apply it lightly. The key is to create a seamless transition between your complexion product and your cheek colour.
Use a small fluffy brush to apply a fine layer of translucent powder. If your under-eye concealer creases, use only a little powder in that area.
People with dry skin may need very little powder, while those with oily skin may prefer slightly more coverage in the T-zone.
The goal is a balanced finish that keeps unwanted shine under control without removing all the natural dimension from your skin.
Blend the edges of your eyeshadow so that there are no obvious colour boundaries. A softly smudged brown eyeliner can define the eyes more subtly than a thick, sharply drawn line.
Brush your eyebrows into place and use a light hand with any brow pencil or powder. Fill only sparse areas, following the natural direction of your brow hairs.
Finish with one or two coats of mascara, concentrating on separation and definition rather than excessive volume if you want an everyday look.
For a softly blurred lip effect, apply colour to the centre of your lips and gently blend it towards the edges. This creates a diffused finish without a sharply defined outline.
If you prefer a more polished appearance, use a lip liner close to your natural lip colour and blend it gently before applying lipstick. Avoid drawing a noticeably darker outline if you want the overall look to remain subtle.
Hold the spray at the recommended distance and apply a light mist rather than soaking your face. Allow it to dry naturally without touching or rubbing your skin.
A setting spray is optional. If your makeup already looks smooth and stays in place, you may not need it.
If you have oily skin, carry blotting paper or use a small amount of powder to manage shine during the day. If your skin is dry, avoid repeatedly adding powder over flaky areas, as this can make texture more noticeable.
For long events, test your makeup combination beforehand rather than trying several unfamiliar products on the day. This helps you understand how the base wears over time and whether any products need adjusting.
Creating a soft-focus makeup look without heavy foundation is mainly about using less product in the right places. Start with comfortable, well-prepared skin, choose a lightweight base if you need one, conceal selectively and blend your blush and eye makeup until the edges look seamless.
Use powder only where necessary and finish with colours that complement your natural features. You do not need a long list of products or a completely flawless complexion to achieve a polished result.
The most convincing soft-focus makeup allows your skin to look like skin, with just enough coverage and definition to bring the whole look together.
What Is Soft-Focus Makeup?
Soft-focus makeup creates the appearance of a softly blurred complexion, with no obvious lines between products or harsh edges around the cheeks, eyes and lips. It draws inspiration from the airbrushed effect of photography, but the goal is to achieve a similar finish in real life without relying on thick makeup.The technique is not about making your skin look completely poreless. Instead, it uses light coverage, strategic product placement and careful blending to soften the appearance of uneven tone and texture.
A lightweight skin tint, a small amount of concealer and a little setting powder can often do more for this look than several layers of full-coverage foundation.
Step 1: Prepare Your Skin Before Applying Makeup
Good skin preparation helps makeup spread evenly and reduces the need for extra coverage. Begin with a gentle cleanser, followed by a moisturiser suited to your skin type.If you are getting ready during the day, apply broad-spectrum sunscreen as the final step of your skincare routine. Allow your skincare layers to settle before moving on to makeup.
Avoid applying too much moisturiser immediately before makeup, particularly if your products tend to pill or separate. If your skin feels comfortable and hydrated, you can move on to the next step.
Step 2: Choose a Lightweight Base Instead of Heavy Foundation
You do not need full-coverage foundation to create a soft-focus effect. A skin tint, tinted moisturiser or lightweight BB cream can help even out your complexion while allowing some natural skin texture to show through.Choose a formula that suits your skin type and desired finish. A hydrating tint may work well for dry skin, while an oil-controlling or natural-matte formula may suit people who experience excess shine.
Apply a small amount to the centre of your face and blend it outwards using clean fingers, a brush or a slightly damp makeup sponge. Concentrating product where you need it prevents unnecessary buildup around the hairline and jaw.
If you prefer to skip foundation altogether, you can use concealer only where you want additional coverage.
Step 3: Conceal Only the Areas That Need It
Targeted concealing is one of the most useful techniques for achieving a natural-looking base. Instead of applying a thick layer across your entire face, use a small amount of concealer on dark circles, blemishes or areas of uneven pigmentation.Choose a shade that blends with your complexion for covering spots. For the under-eye area, select a suitable shade that brightens without creating an obvious contrast with the rest of your face.
Tap the product gently with your fingertip or a small brush, then blend the edges until they disappear into the surrounding skin. If you need more coverage, build it gradually rather than applying a large amount at once.
The aim is to soften the appearance of imperfections, not to make every part of your complexion look identical.
Step 4: Use a Blurring Primer Where Needed
A blurring primer can help create a smoother-looking base, particularly around the nose, forehead and areas where pores are more noticeable. Some formulas contain silicones that create a smooth surface for makeup, although results vary by product and skin type.You do not need to apply primer across your entire face. Use a small amount only where you want to soften the appearance of texture or help makeup sit more evenly.
If your moisturiser and skin tint already work well together, you can skip this step. Adding more products does not automatically produce a better finish.
Step 5: Blend Cream Blush Into Your Cheeks
Blush gives a soft-focus look warmth and dimension. Cream and liquid blushes are useful options because they can create a natural-looking flush when applied in thin layers.Choose a shade that complements your skin tone, such as soft pink, peach, rose or terracotta. For deeper complexions, richer berry and warm plum shades can also work beautifully.
Apply a small amount to the cheeks and blend upwards towards the temples. Use gentle tapping motions to soften the edges instead of leaving a clearly defined patch of colour.
If you prefer powder blush, use a fluffy brush and apply it lightly. The key is to create a seamless transition between your complexion product and your cheek colour.
Step 6: Set Your Makeup Without Making It Look Heavy
Too much powder can make a lightweight base appear dry or cakey. Instead of powdering your entire face, concentrate on areas where makeup tends to crease or become oily, such as the sides of the nose, forehead and chin.Use a small fluffy brush to apply a fine layer of translucent powder. If your under-eye concealer creases, use only a little powder in that area.
People with dry skin may need very little powder, while those with oily skin may prefer slightly more coverage in the T-zone.
The goal is a balanced finish that keeps unwanted shine under control without removing all the natural dimension from your skin.
Step 7: Keep Your Eyes and Brows Softly Defined
Soft-focus makeup works best when the rest of the face follows the same understated approach. Neutral eyeshadows in shades of beige, taupe, soft brown or muted rose can add definition without creating harsh lines.Blend the edges of your eyeshadow so that there are no obvious colour boundaries. A softly smudged brown eyeliner can define the eyes more subtly than a thick, sharply drawn line.
Brush your eyebrows into place and use a light hand with any brow pencil or powder. Fill only sparse areas, following the natural direction of your brow hairs.
Finish with one or two coats of mascara, concentrating on separation and definition rather than excessive volume if you want an everyday look.
Step 8: Add a Natural Finish to Your Lips
For the lips, choose a tinted balm, sheer lipstick or creamy lip colour that complements the rest of your makeup. Rosy pink, peach, muted brown and soft berry shades can all work, depending on your preference and complexion.For a softly blurred lip effect, apply colour to the centre of your lips and gently blend it towards the edges. This creates a diffused finish without a sharply defined outline.
If you prefer a more polished appearance, use a lip liner close to your natural lip colour and blend it gently before applying lipstick. Avoid drawing a noticeably darker outline if you want the overall look to remain subtle.
Step 9: Finish With a Light Setting Spray
A setting spray can help your makeup wear more evenly and reduce the powdery appearance of layered products. Choose a formula that suits your skin type and follow the product instructions.Hold the spray at the recommended distance and apply a light mist rather than soaking your face. Allow it to dry naturally without touching or rubbing your skin.
A setting spray is optional. If your makeup already looks smooth and stays in place, you may not need it.
Common Mistakes to Avoid
A few small changes can make a noticeable difference to your final result.- Applying too much foundation: Start with a thin layer and add coverage only where needed.
- Choosing the wrong shade: Match complexion products to your skin depth and undertone to avoid an ashy or overly orange finish.
- Using too much powder: Set only the areas that need it instead of mattifying the entire face.
- Overusing highlighter: Excessive shimmer can emphasise texture rather than soften it.
- Skipping skin preparation: Dry patches and excess skincare residue can make makeup look uneven.
- Blending too little: Visible edges around concealer and blush can make a minimal base look heavier than it is.
- Expecting perfectly smooth skin: Pores and natural texture are normal, even when makeup is applied well.
How to Make Soft-Focus Makeup Last Longer
Start with skincare products that suit your skin, and give each layer time to settle before applying makeup. Use thin layers and avoid mixing too many products with different finishes if they tend to separate on your skin.If you have oily skin, carry blotting paper or use a small amount of powder to manage shine during the day. If your skin is dry, avoid repeatedly adding powder over flaky areas, as this can make texture more noticeable.
For long events, test your makeup combination beforehand rather than trying several unfamiliar products on the day. This helps you understand how the base wears over time and whether any products need adjusting.
Creating a soft-focus makeup look without heavy foundation is mainly about using less product in the right places. Start with comfortable, well-prepared skin, choose a lightweight base if you need one, conceal selectively and blend your blush and eye makeup until the edges look seamless.
Use powder only where necessary and finish with colours that complement your natural features. You do not need a long list of products or a completely flawless complexion to achieve a polished result.
The most convincing soft-focus makeup allows your skin to look like skin, with just enough coverage and definition to bring the whole look together.
Next Story