
How To Use Filters To Organise Your Email Inbox

Tired of a cluttered inbox? You’re not alone. Managing emails can quickly get overwhelming, but luckily there’s an efficient solution: email filters . These powerful tools let you automatically sort, label, or delete messages based on specific rules, helping you take back control of your inbox and save time. Here’s how you can set up and use filters effectively.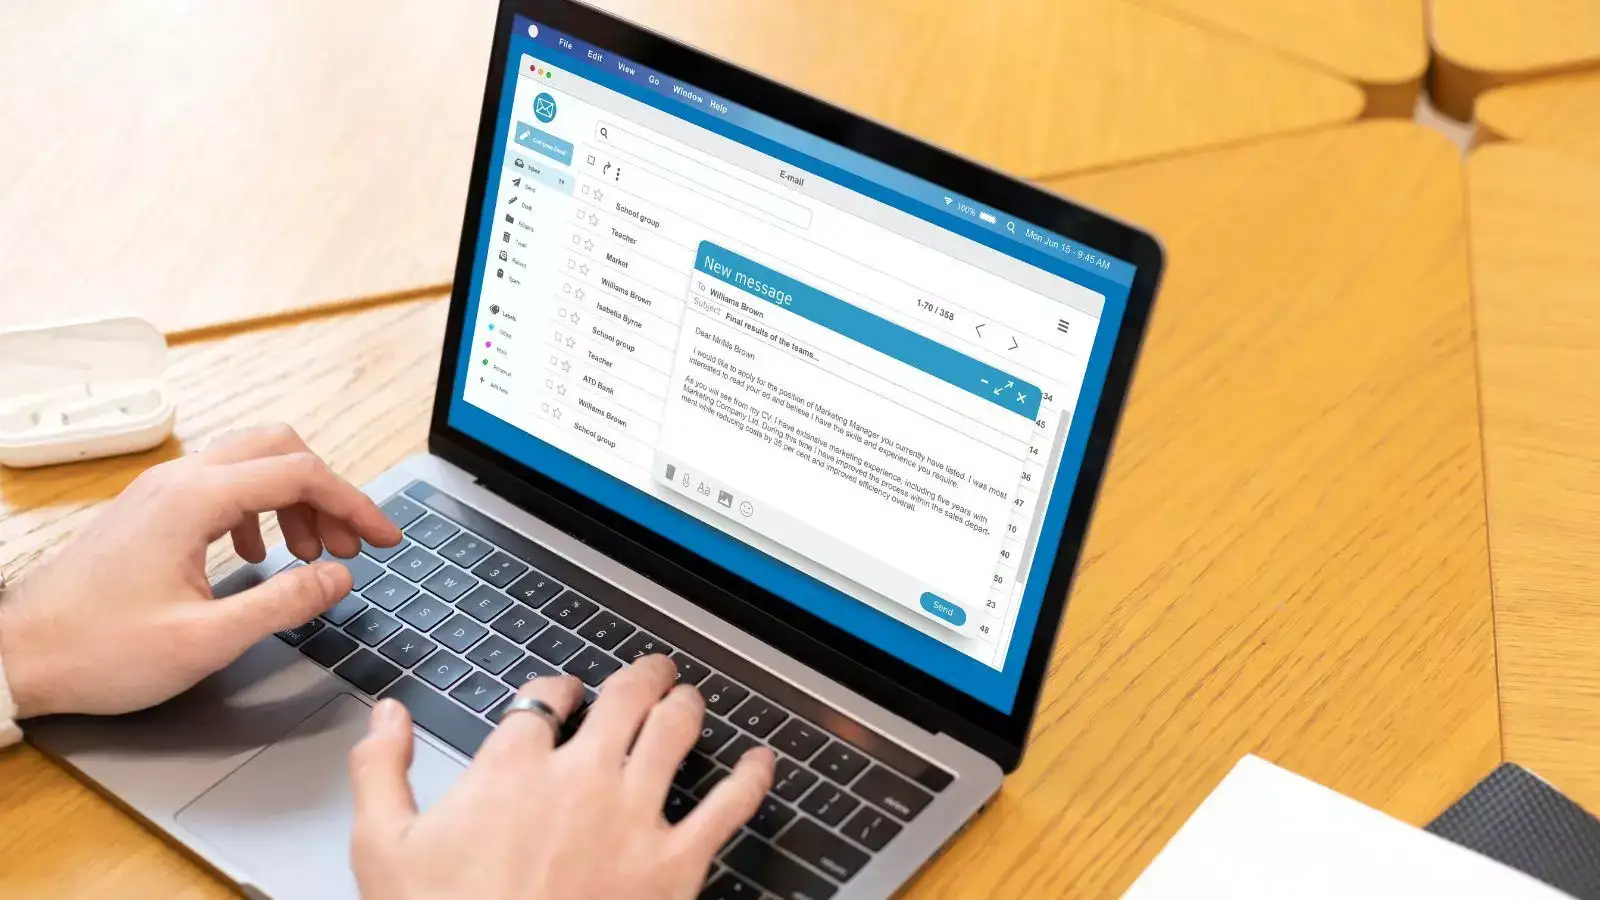
1. Identify Common Email Patterns
Start by spotting patterns in your inbox.
Look at recurring senders, subject lines, or specific keywords in the body of the email.
Once identified, these can serve as the foundation for setting up effective filters, such as sorting promotional offers or daily newsletters.
2. Set Up Basic Filters
Most email platforms, like Gmail, Outlook or Yahoo, allow basic filtering features.
You can create rules that automatically move emails to folders, mark them as read, or delete them.
This is perfect for filtering things like receipts, social media updates or bulk messages.
3. Use Advanced Filtering Options
Go a step further by exploring the advanced features of your email client.
Combine multiple conditions (e.g. sender and keywords) or use logic-based filters to tailor your inbox exactly the way you need it.
Advanced filters help deal with more complex sorting needs for professional or high-volume users.
4. Regularly Review and Adjust Filters
Your inbox evolves with time, and so should your filters.
Review your filter rules every few months to ensure they still match your needs.
Whether you’ve subscribed to new newsletters or changed jobs, adjusting filters ensures continued inbox cleanliness.
5. Leverage Third-Party Tools
If your email client doesn’t offer everything you need, try third-party email organisers.
Tools like Clean Email, SaneBox or Mailstrom offer features like bulk deletion, smart sorting and integrations with productivity apps.
They streamline your inbox and help maintain focus without manual sorting.
6. Create a Folder System
Use filters to assign emails to folders based on projects, clients or content type.
This makes it easier to locate important conversations and minimises visual clutter.
Label your folders clearly for quick access and better organisation.
7. Automatically Delete Unwanted Emails
Some emails don’t need to stick around—ever.
Set filters to instantly delete spam, promotions, or no-reply alerts you don’t need.
This keeps your inbox lean and focused on what actually matters.
8. Use Filters to Mark Important Emails
Set filters to automatically star or mark emails from VIPs like clients, your boss, or family.
That way, you won’t miss a critical update even if your inbox is flooded.
It’s a smart way to prioritise attention where it’s most needed.
9. Filter by Time or Frequency
Use filters that manage time-sensitive messages by placing them in folders for weekly review.
This works well for digest emails, reminders or periodic updates.
It helps keep your primary inbox free from non-urgent clutter.
10. Educate Yourself on Your Email Client
Take time to explore the filtering features of your specific email provider.
Most platforms have hidden gems in their settings that can improve efficiency.
The more you know, the better you can customise your inbox to work for you—not against you.
Email filters are a simple yet powerful way to bring order to inbox chaos. With just a few minutes of setup, you can sort and manage emails automatically, saving time and reducing stress. Whether you’re managing personal communication or professional correspondence, mastering filters is key to a cleaner, smarter inbox.
1. Identify Common Email Patterns
Start by spotting patterns in your inbox.
Look at recurring senders, subject lines, or specific keywords in the body of the email.
Once identified, these can serve as the foundation for setting up effective filters, such as sorting promotional offers or daily newsletters.
2. Set Up Basic Filters
Most email platforms, like Gmail, Outlook or Yahoo, allow basic filtering features.
You can create rules that automatically move emails to folders, mark them as read, or delete them.
This is perfect for filtering things like receipts, social media updates or bulk messages.
3. Use Advanced Filtering Options
Go a step further by exploring the advanced features of your email client.
Combine multiple conditions (e.g. sender and keywords) or use logic-based filters to tailor your inbox exactly the way you need it.
Advanced filters help deal with more complex sorting needs for professional or high-volume users.
4. Regularly Review and Adjust Filters
Your inbox evolves with time, and so should your filters.
Review your filter rules every few months to ensure they still match your needs.
Whether you’ve subscribed to new newsletters or changed jobs, adjusting filters ensures continued inbox cleanliness.
5. Leverage Third-Party Tools
If your email client doesn’t offer everything you need, try third-party email organisers.
Tools like Clean Email, SaneBox or Mailstrom offer features like bulk deletion, smart sorting and integrations with productivity apps.
They streamline your inbox and help maintain focus without manual sorting.
6. Create a Folder System
Use filters to assign emails to folders based on projects, clients or content type.
This makes it easier to locate important conversations and minimises visual clutter.
Label your folders clearly for quick access and better organisation.
7. Automatically Delete Unwanted Emails
Some emails don’t need to stick around—ever.
Set filters to instantly delete spam, promotions, or no-reply alerts you don’t need.
This keeps your inbox lean and focused on what actually matters.
8. Use Filters to Mark Important Emails
Set filters to automatically star or mark emails from VIPs like clients, your boss, or family.
That way, you won’t miss a critical update even if your inbox is flooded.
It’s a smart way to prioritise attention where it’s most needed.
9. Filter by Time or Frequency
Use filters that manage time-sensitive messages by placing them in folders for weekly review.
This works well for digest emails, reminders or periodic updates.
It helps keep your primary inbox free from non-urgent clutter.
10. Educate Yourself on Your Email Client
Take time to explore the filtering features of your specific email provider.
Most platforms have hidden gems in their settings that can improve efficiency.
The more you know, the better you can customise your inbox to work for you—not against you.
Email filters are a simple yet powerful way to bring order to inbox chaos. With just a few minutes of setup, you can sort and manage emails automatically, saving time and reducing stress. Whether you’re managing personal communication or professional correspondence, mastering filters is key to a cleaner, smarter inbox.
Next Story