The Joy Of Homemade Bread: A Culinary Journey In Your Kitchen

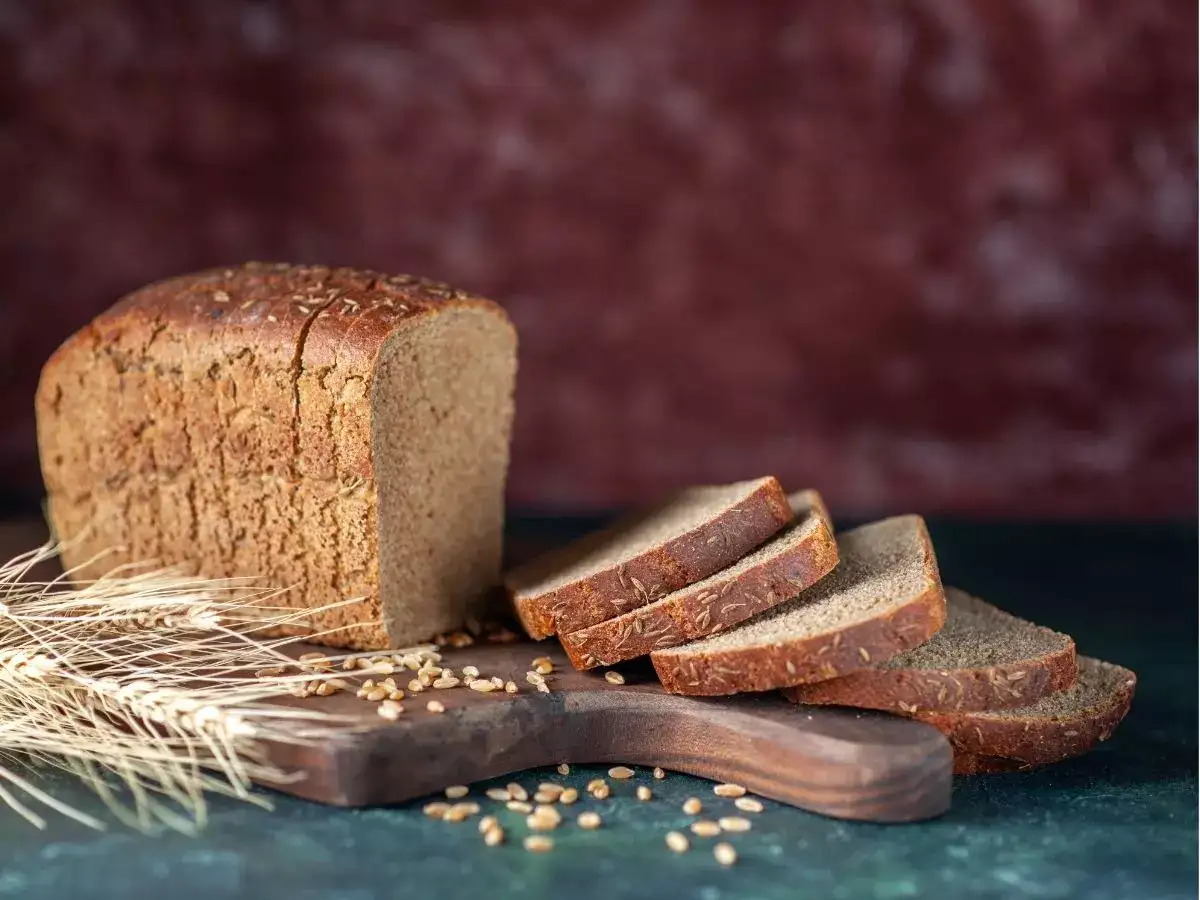
There's something undeniably magical about the process of making homemade bread . From the comforting aroma that fills your home to the satisfaction of slicing into a freshly baked loaf, homemade bread embodies the essence of wholesome, nourishing food. In this article, we'll delve into the art of homemade bread, exploring its benefits, techniques, and the joy it brings to those who bake it.
Mix the Dough:
Knead the Dough:
First Rise:
Shape the Loaf:
Second Rise:
Preheat the Oven:
The Benefits of Homemade Bread
- Freshness and Flavor : Homemade bread is unparalleled in freshness and flavor compared to store-bought varieties. You have full control over the ingredients, ensuring that each bite is bursting with deliciousness.
- Nutritional Value: By using quality ingredients like whole grains, seeds, and nuts, homemade bread can be a nutritious addition to your diet, providing essential nutrients and fiber.
- Customization : One of the joys of homemade bread is the ability to customize it to your preferences. Whether you prefer a rustic sourdough, a hearty whole wheat loaf, or a fragrant herb-infused bread, the possibilities are endless.
- Economic Savings: Baking your own bread can also save you money in the long run, especially if you bake regularly. The cost of ingredients is often lower than buying artisanal bread from bakeries.
Ingredients:
- 3 cups all-purpose flour (you can also use bread flour for a chewier texture)
- 1 packet (2 1/4 teaspoons) active dry yeast
- 1 cup warm water (about 110°F or 43°C)
- 2 tablespoons sugar
- 1 teaspoon salt
- 2 tablespoons olive oil (or melted butter)
Instructions:
- Activate the Yeast:
- In a small bowl, combine the warm water, sugar, and yeast. Stir gently and let it sit for about 5-10 minutes until the mixture becomes frothy. This indicates that the yeast is active and ready to use.
- In a large mixing bowl, combine the flour and salt. Make a well in the center and pour in the activated yeast mixture and olive oil (or melted butter).
- Use a wooden spoon or your hands to mix the ingredients until a dough forms. If the dough is too sticky, add a little more flour. If it's too dry, add a bit more water.
- Transfer the dough onto a floured surface. Knead the dough for about 8-10 minutes until it becomes smooth and elastic. This helps develop gluten for a better texture.
- Place the kneaded dough in a lightly oiled bowl, turning the dough to coat it with oil. Cover the bowl with a clean kitchen towel or plastic wrap and let it rise in a warm, draft-free place for about 1-1.5 hours or until doubled in size.
- After the dough has risen, gently punch it down to release air bubbles. Transfer it to a lightly floured surface and shape it into a loaf. You can shape it into a traditional loaf shape or experiment with different shapes like round or braided.
- Place the shaped dough onto a baking sheet lined with parchment paper or a lightly greased loaf pan. Cover it again with a towel or plastic wrap and let it rise for another 30-45 minutes until it puffs up.
Next Story