How To Make Fresh Aloe Vera Gel At Home In Simple Steps

Aloe vera gel is widely known for its incredible benefits for skin, hair, and overall health. While store-bought versions often contain preservatives and artificial ingredients, making your own aloe vera gel at home ensures purity and freshness. The best part? It’s easy, inexpensive, and requires just a few steps.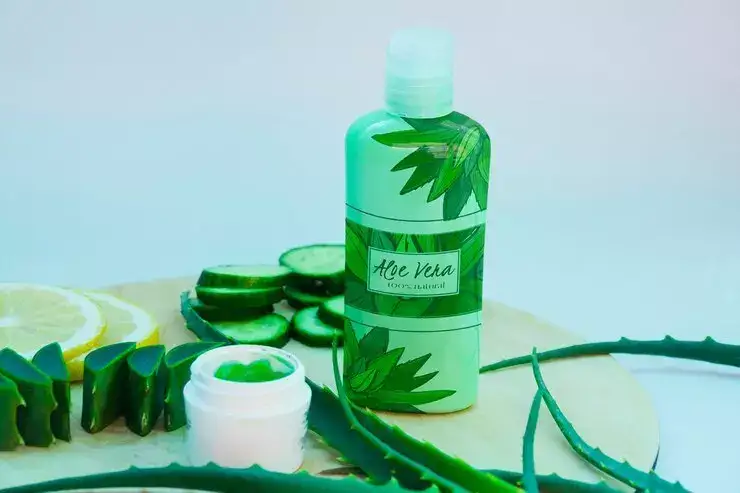
Here’s a step-by-step guide to making fresh aloe vera gel at home.
Benefits of Aloe Vera Gel
Before diving into the process, let’s look at why fresh aloe vera gel is so beneficial:
Ingredients You’ll Need
Step-by-Step Process
1. Select and Wash the Aloe Vera Leaf
Choose a thick, healthy aloe vera leaf, preferably from a mature plant. Wash it thoroughly under running water to remove any dirt or bacteria.
2. Cut the Leaf and Drain the Yellow Sap
Using a sharp knife, cut off the base of the aloe vera leaf and let it stand upright in a bowl for about 10-15 minutes. This allows the yellowish sap (aloin) to drain out, which can be slightly irritating to the skin.
3. Peel Off the Outer Green Layer
Place the leaf flat on a cutting board and carefully slice off the top layer of the thick green skin. Flip it over and remove the bottom layer as well, revealing the clear gel inside.
4. Extract the Aloe Vera Gel
Use a spoon to scoop out the transparent gel from inside the leaf. Be gentle to avoid scraping any remaining green parts, as they can be bitter and irritating.
5. Blend for a Smooth Texture
Transfer the extracted gel into a blender and blend for 30-60 seconds until you get a smooth, slightly frothy liquid. This makes it easier to apply on the skin and hair.
6. Add Natural Preservatives (Optional)
For longer shelf life, add a teaspoon of vitamin E oil or coconut oil. These ingredients not only enhance the gel’s benefits but also help keep it fresh for a longer time.
7. Store in an Airtight Container
Pour the blended gel into a clean, airtight container or glass jar. Store it in the refrigerator for up to a week.
How to Use Aloe Vera Gel
Making fresh aloe vera gel at home is simple, cost-effective, and ensures you get the purest form without harmful chemicals. Whether for skincare, haircare, or first aid, this natural remedy is a must-have in every home. Try this easy DIY method and enjoy the benefits of fresh, homemade aloe vera gel !
Here’s a step-by-step guide to making fresh aloe vera gel at home.
Benefits of Aloe Vera Gel
Before diving into the process, let’s look at why fresh aloe vera gel is so beneficial:
- Hydrates and soothes the skin, making it ideal for dry or sensitive skin.
- Helps in healing sunburns, acne, and minor cuts due to its anti-inflammatory properties.
- Boosts hair health, reducing dandruff and promoting hair growth.
- Acts as a natural moisturiser without making the skin oily.
- Rich in antioxidants and vitamins, supporting overall skin and hair health.
Ingredients You’ll Need
- 1 or 2 fresh aloe vera leaves
- 1 teaspoon of vitamin E oil (optional, for added nourishment)
- 1 teaspoon of coconut oil or essential oil (optional, for fragrance)
- A sharp knife
- A spoon
- A blender
- An airtight container for storage
Step-by-Step Process
1. Select and Wash the Aloe Vera Leaf
Choose a thick, healthy aloe vera leaf, preferably from a mature plant. Wash it thoroughly under running water to remove any dirt or bacteria.
2. Cut the Leaf and Drain the Yellow Sap
Using a sharp knife, cut off the base of the aloe vera leaf and let it stand upright in a bowl for about 10-15 minutes. This allows the yellowish sap (aloin) to drain out, which can be slightly irritating to the skin.
3. Peel Off the Outer Green Layer
Place the leaf flat on a cutting board and carefully slice off the top layer of the thick green skin. Flip it over and remove the bottom layer as well, revealing the clear gel inside.
You may also like
- Luxury's sneaker obsession
- Why luxury fashion is investing in fitness
- How used tea leaves can help some plants thrive: Simple step-by-step guide to use strained tea leaves as manure
- The man may be gone, but Rohit Bal's magic still walks the runway - DASTKAR becomes a moving tribute to the master
- In 2026, India's 550-Year-Old Great Banyan Tree is as big as an entire Forest
4. Extract the Aloe Vera Gel
Use a spoon to scoop out the transparent gel from inside the leaf. Be gentle to avoid scraping any remaining green parts, as they can be bitter and irritating.
5. Blend for a Smooth Texture
Transfer the extracted gel into a blender and blend for 30-60 seconds until you get a smooth, slightly frothy liquid. This makes it easier to apply on the skin and hair.
6. Add Natural Preservatives (Optional)
For longer shelf life, add a teaspoon of vitamin E oil or coconut oil. These ingredients not only enhance the gel’s benefits but also help keep it fresh for a longer time.
7. Store in an Airtight Container
Pour the blended gel into a clean, airtight container or glass jar. Store it in the refrigerator for up to a week.
How to Use Aloe Vera Gel
- As a Face Moisturiser: Apply a small amount to your face after cleansing to keep your skin hydrated.
- For Hair Care: Massage into the scalp to promote hair growth and reduce dandruff.
- As a Sunburn Relief: Apply generously to soothe sun-exposed skin.
- For Minor Cuts and Burns: Dab onto the affected area for quick healing.
Making fresh aloe vera gel at home is simple, cost-effective, and ensures you get the purest form without harmful chemicals. Whether for skincare, haircare, or first aid, this natural remedy is a must-have in every home. Try this easy DIY method and enjoy the benefits of fresh, homemade aloe vera gel !






Loving Newspoint? Download the app now