How To Make Fresh Aloe Vera Gel At Home In Simple Steps

Aloe vera gel is widely known for its incredible benefits for skin, hair, and overall health. While store-bought versions often contain preservatives and artificial ingredients, making your own aloe vera gel at home ensures purity and freshness. The best part? It’s easy, inexpensive, and requires just a few steps.
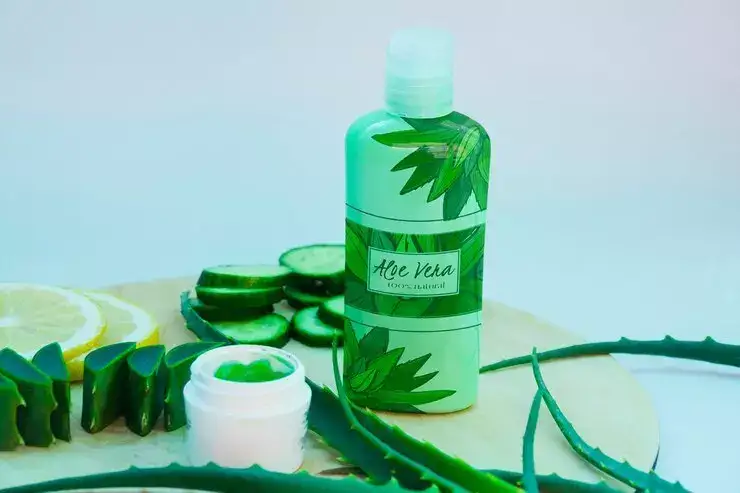
Hero Image


Here’s a step-by-step guide to making fresh aloe vera gel at home.

Benefits of Aloe Vera Gel

Before diving into the process, let’s look at why fresh aloe vera gel is so beneficial:
  • Hydrates and soothes the skin, making it ideal for dry or sensitive skin.
  • Helps in healing sunburns, acne, and minor cuts due to its anti-inflammatory properties.
  • Boosts hair health, reducing dandruff and promoting hair growth.
  • Acts as a natural moisturiser without making the skin oily.
  • Rich in antioxidants and vitamins, supporting overall skin and hair health.

Ingredients You’ll Need


  • 1 or 2 fresh aloe vera leaves
  • 1 teaspoon of vitamin E oil (optional, for added nourishment)
  • 1 teaspoon of coconut oil or essential oil (optional, for fragrance)
  • A sharp knife
  • A spoon
  • A blender
  • An airtight container for storage

Step-by-Step Process

1. Select and Wash the Aloe Vera Leaf


Choose a thick, healthy aloe vera leaf, preferably from a mature plant. Wash it thoroughly under running water to remove any dirt or bacteria.

2. Cut the Leaf and Drain the Yellow Sap


Using a sharp knife, cut off the base of the aloe vera leaf and let it stand upright in a bowl for about 10-15 minutes. This allows the yellowish sap (aloin) to drain out, which can be slightly irritating to the skin.

3. Peel Off the Outer Green Layer

Place the leaf flat on a cutting board and carefully slice off the top layer of the thick green skin. Flip it over and remove the bottom layer as well, revealing the clear gel inside.