From Unboxing To Customising: Setting Up Your New Android Phone

Unboxing a new Android phone is always an exciting experience. With a few easy steps, you can set up your device to make the most out of its features. Whether you're a seasoned Android user or a first-time adopter, this guide will walk you through the process of setting up your new Android phone.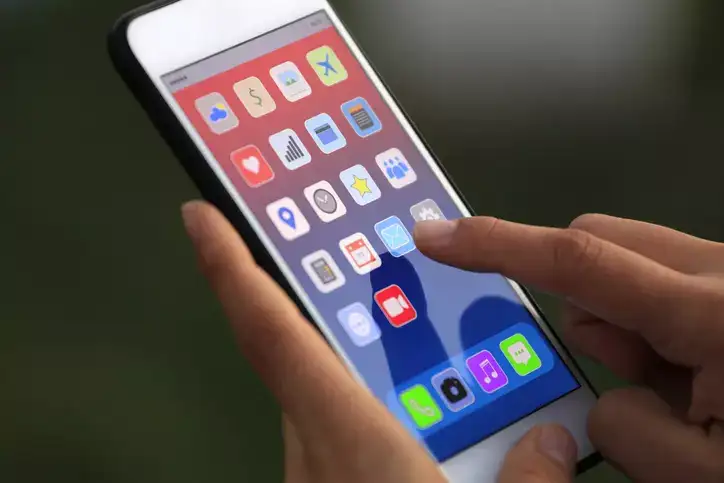
Step-by-Step Guide: Setting Up Your New Android Phone
1. Unbox and Inspect Your Device
Before you dive into the setup process, unbox your phone and ensure that all accessories (charger, cables, etc.) are included. Inspect the device for any physical damage.
2. Power On Your Phone
Press and hold the power button to turn on your phone. You’ll be greeted with the welcome screen.
3. Select Your Language and Region
Choose your preferred language and your region. This will ensure your phone's settings are tailored to your location.
4. Connect to Wi-Fi
To proceed with the setup, connect to a Wi-Fi network. This will allow you to download updates and apps during the initial setup.
5. Insert SIM Card
Insert your SIM card to enable cellular connectivity. You may need a SIM ejector tool or a small pin to open the SIM tray.
6. Sign In to Your Google Account
Enter your Google account credentials. If you don’t have one, you can create a new account. This step is crucial for accessing Google services like the Play Store, Gmail, and more.
7. Restore Backup (Optional)
If you had a previous Android device, you can restore your apps, contacts, and settings from a backup. Choose the backup option and follow the instructions.
8. Set Up Security Options
Set up a screen lock (pattern, PIN, or password) to secure your phone. You can also add biometric options like fingerprint or face recognition if your device supports them.
9. Customize Your Phone
10. Update Your Software
Check for any available software updates. Keeping your software up to date is important for security and performance improvements.
11. Set Up Google Services
Google will ask you to configure services such as Google Assistant, location services, and backup options. Follow the prompts to set these up.
12. Explore Additional Features
13. Sync Your Accounts
Add any additional email accounts, social media accounts, and other services you use regularly.
14. Transfer Data from Old Phone
If you didn’t restore from a backup earlier, you can use tools like Google’s “Switch to Android” app or third-party apps to transfer data from your old phone.
15. Install Essential Apps
Download and install essential apps such as messaging apps, social media platforms, productivity tools, and any other apps you regularly use.
Step-by-Step Guide: Setting Up Your New Android Phone
1. Unbox and Inspect Your Device
Before you dive into the setup process, unbox your phone and ensure that all accessories (charger, cables, etc.) are included. Inspect the device for any physical damage.
2. Power On Your Phone
Press and hold the power button to turn on your phone. You’ll be greeted with the welcome screen.
3. Select Your Language and Region
Choose your preferred language and your region. This will ensure your phone's settings are tailored to your location.
4. Connect to Wi-Fi
To proceed with the setup, connect to a Wi-Fi network. This will allow you to download updates and apps during the initial setup.
You may also like
- How to stop WhatsApp from saving media to your phone: A complete guide
- YouTube will now help creators make thumbnails easily using AI
- Infosys fined 175,000 Euros in France over employee time tracking system; what BSE filing says
- How to add a volume slider to iPhone lock screen
- Intel rebounds after 'difficult times', reports its fastest revenue growth in 15 years
5. Insert SIM Card
Insert your SIM card to enable cellular connectivity. You may need a SIM ejector tool or a small pin to open the SIM tray.
6. Sign In to Your Google Account
Enter your Google account credentials. If you don’t have one, you can create a new account. This step is crucial for accessing Google services like the Play Store, Gmail, and more.
7. Restore Backup (Optional)
If you had a previous Android device, you can restore your apps, contacts, and settings from a backup. Choose the backup option and follow the instructions.
8. Set Up Security Options
Set up a screen lock (pattern, PIN, or password) to secure your phone. You can also add biometric options like fingerprint or face recognition if your device supports them.
9. Customize Your Phone
- Select Your Apps: Choose which apps to install from the Play Store.
- Organize Your Home Screen: Arrange your apps and widgets on the home screen according to your preference.
- Adjust Settings: Customize settings such as display brightness, ringtones, and notifications.
10. Update Your Software
Check for any available software updates. Keeping your software up to date is important for security and performance improvements.
11. Set Up Google Services
Google will ask you to configure services such as Google Assistant, location services, and backup options. Follow the prompts to set these up.
12. Explore Additional Features
- Digital Wellbeing: Monitor and manage your digital habits.
- Battery Optimization: Adjust battery settings to improve battery life.
- Customization Options: Explore themes, wallpapers, and other personalization features.
13. Sync Your Accounts
Add any additional email accounts, social media accounts, and other services you use regularly.
14. Transfer Data from Old Phone
If you didn’t restore from a backup earlier, you can use tools like Google’s “Switch to Android” app or third-party apps to transfer data from your old phone.
15. Install Essential Apps
Download and install essential apps such as messaging apps, social media platforms, productivity tools, and any other apps you regularly use.






Loving Newspoint? Download the app now