Homemade Ghee Recipe: How to Make Pure Ghee Without Churning Butter

Nothing matches the rich aroma and flavour of how to make pure ghee at home using fresh cream. While the traditional method involves churning cream into butter before turning it into ghee, there's a much easier approach that saves both time and effort. With one simple kitchen trick, you can separate the milk fat directly from fresh cream, reduce wastage, and prepare delicious homemade ghee without going through the butter-making process. Here's a step-by-step guide to help you make pure, fragrant ghee with minimal hassle.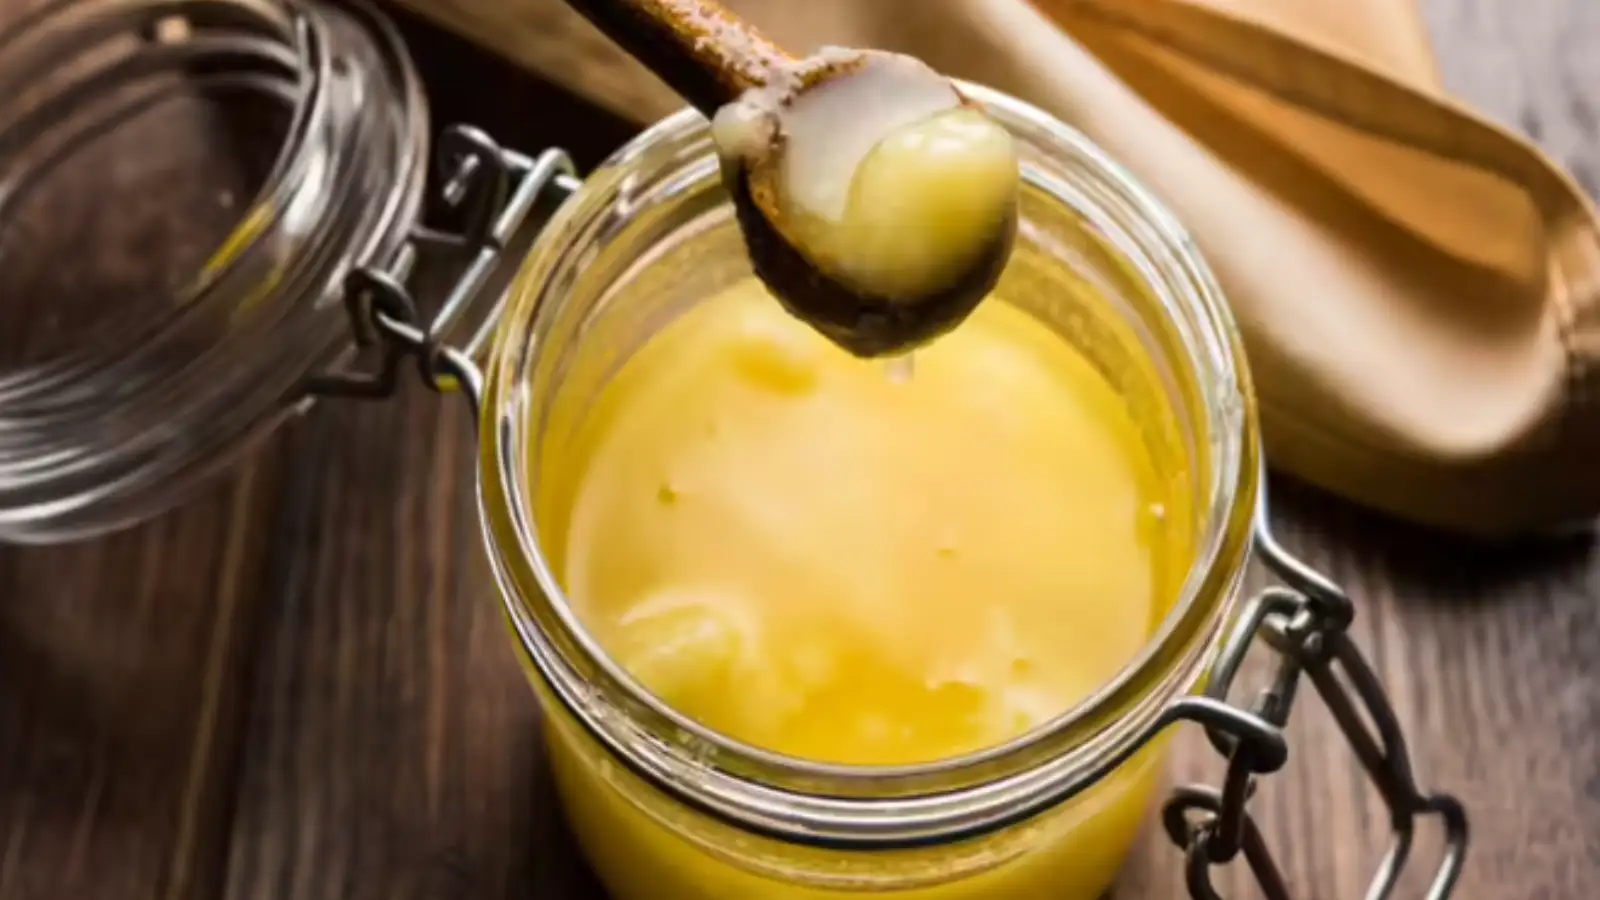
Why Try This No-Butter Ghee Method?
Making ghee at home is not only economical but also ensures freshness and purity. The conventional process of first preparing butter can be lengthy and messy. On the other hand, directly heating cream often causes the milk solids to burn and stick to the pan, affecting both the flavour and quantity of the final ghee.
This alternative method helps remove excess moisture before cooking, allowing the ghee to separate more efficiently while reducing burnt residue.
Step 1: Prepare the Fresh Cream
Start by collecting the cream (malai) that forms on boiled milk over several days. Keep storing it in the refrigerator until you have enough to make ghee.
Transfer the chilled cream into a deep mixing bowl and stir it continuously in one direction for about two to three minutes using a whisk or ladle. This helps create a smooth consistency and prepares the cream for easier fat separation.
Step 2: The Ice Water Trick That Makes All the Difference
Here's the secret behind this method.
Add a few ice cubes or a small amount of ice-cold water to the cream. The sudden drop in temperature helps the milk fat become firmer, making it easier to separate.
Now take a sturdy glass tumbler and use its flat base to gently press and rotate the cream in circular motions inside the bowl. Continue this process for a few minutes. Gradually, the butterfat starts collecting around the glass while the remaining liquid separates naturally.
Step 3: Remove the Extra Liquid
Once the fat has clearly separated, carefully drain out the buttermilk or excess water from the bowl.
This step is important because reducing moisture before heating helps prevent the milk solids from sticking to the bottom of the pan. It also improves the extraction of ghee by ensuring less fat gets trapped in the leftover solids.
Step 4: Cook the Separated Fat Into Ghee
Transfer the separated fat into a heavy-bottomed pan and place it over a medium flame.
Since most of the moisture has already been removed, the mixture heats up quickly. Within five to seven minutes, you'll notice golden ghee separating from the milk solids.
Continue cooking until the milk solids turn light golden brown and the kitchen fills with the signature nutty aroma of fresh ghee.
Turn off the heat and let the ghee cool slightly before straining it into a clean, dry glass jar.
Tips to Make Perfect Homemade Ghee
Why This Method Works So Well
Cooling the cream causes the milk fat to firm up, making it much easier to separate from the liquid. Since most of the water is removed before cooking, the ghee melts and clarifies faster, producing less burnt residue and reducing unnecessary wastage.
Although the amount of ghee you obtain depends on the quality and fat content of the cream, this technique can simplify the entire process while delivering clean, aromatic homemade ghee with less effort.
If you've been avoiding homemade ghee because the traditional butter-making process feels too time-consuming, this easy method is worth trying. By using chilled cream, ice water and a simple glass tumbler, you can prepare fresh, flavourful ghee in just a few easy steps. The result is pure homemade ghee with a rich aroma, cleaner extraction and fewer dishes to wash - making it a practical kitchen hack for everyday cooking.
Why Try This No-Butter Ghee Method?
Making ghee at home is not only economical but also ensures freshness and purity. The conventional process of first preparing butter can be lengthy and messy. On the other hand, directly heating cream often causes the milk solids to burn and stick to the pan, affecting both the flavour and quantity of the final ghee.
This alternative method helps remove excess moisture before cooking, allowing the ghee to separate more efficiently while reducing burnt residue.
Step 1: Prepare the Fresh Cream
Start by collecting the cream (malai) that forms on boiled milk over several days. Keep storing it in the refrigerator until you have enough to make ghee.
Transfer the chilled cream into a deep mixing bowl and stir it continuously in one direction for about two to three minutes using a whisk or ladle. This helps create a smooth consistency and prepares the cream for easier fat separation.
Step 2: The Ice Water Trick That Makes All the Difference
Here's the secret behind this method.
Add a few ice cubes or a small amount of ice-cold water to the cream. The sudden drop in temperature helps the milk fat become firmer, making it easier to separate.
Now take a sturdy glass tumbler and use its flat base to gently press and rotate the cream in circular motions inside the bowl. Continue this process for a few minutes. Gradually, the butterfat starts collecting around the glass while the remaining liquid separates naturally.
Step 3: Remove the Extra Liquid
Once the fat has clearly separated, carefully drain out the buttermilk or excess water from the bowl.
You may also like
- Identity, belonging and luxury: The marks of cult fashion
- This 500-year-old Spanish olive tree survived centuries of wars, droughts and changing empires, only to be lifted by cranes after a storm felled a homeowner's pine tree and replanted as the centrepiece of a private mountain chalet's garden
- Nuchal Translucency (NT) Scan: What It Is and How It Screens for Chromosomal Conditions
- Garden experts say one simple landscaping swap could help keep ticks away all summer: And many homeowners already use it without knowing why
- Oxytocin Health Risks: 2700 vials of substandard oxytocin fail at RML. Do you know why this medicine is fatal for you?
This step is important because reducing moisture before heating helps prevent the milk solids from sticking to the bottom of the pan. It also improves the extraction of ghee by ensuring less fat gets trapped in the leftover solids.
Step 4: Cook the Separated Fat Into Ghee
Transfer the separated fat into a heavy-bottomed pan and place it over a medium flame.
Since most of the moisture has already been removed, the mixture heats up quickly. Within five to seven minutes, you'll notice golden ghee separating from the milk solids.
Continue cooking until the milk solids turn light golden brown and the kitchen fills with the signature nutty aroma of fresh ghee.
Turn off the heat and let the ghee cool slightly before straining it into a clean, dry glass jar.
Tips to Make Perfect Homemade Ghee
- Always use well-chilled cream for better fat separation.
- Stir the cream thoroughly before adding ice water.
- Remove as much liquid as possible before heating.
- Cook over medium heat to avoid burning the milk solids.
- Store the ghee in an airtight glass container.
- Always use a dry spoon while serving to keep the ghee fresh for longer.
Why This Method Works So Well
Cooling the cream causes the milk fat to firm up, making it much easier to separate from the liquid. Since most of the water is removed before cooking, the ghee melts and clarifies faster, producing less burnt residue and reducing unnecessary wastage.
Although the amount of ghee you obtain depends on the quality and fat content of the cream, this technique can simplify the entire process while delivering clean, aromatic homemade ghee with less effort.
If you've been avoiding homemade ghee because the traditional butter-making process feels too time-consuming, this easy method is worth trying. By using chilled cream, ice water and a simple glass tumbler, you can prepare fresh, flavourful ghee in just a few easy steps. The result is pure homemade ghee with a rich aroma, cleaner extraction and fewer dishes to wash - making it a practical kitchen hack for everyday cooking.






Loving Newspoint? Download the app now