Homemade Paneer Recipe That Turns Out Soft Every Time

Nothing compares to the taste of freshly made paneer. Soft, creamy, and free from preservatives, homemade paneer is healthier than many store-bought varieties and can be used in countless Indian dishes. The best part is that you only need two ingredients and about 30 minutes to make it.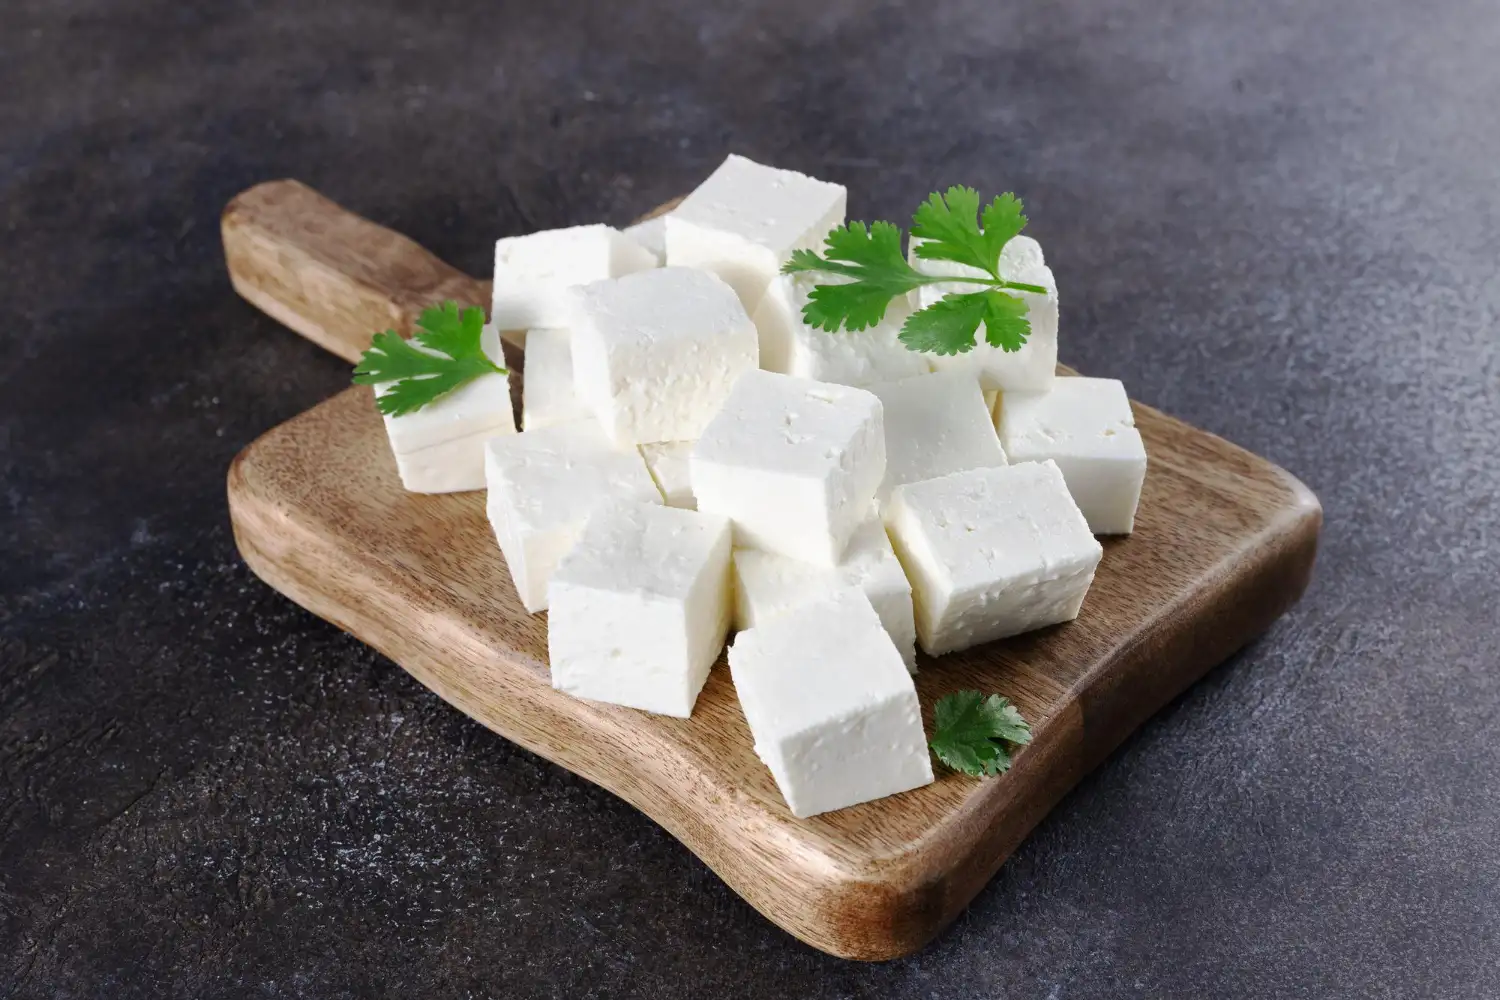
Whether you're preparing paneer butter masala, palak paneer, tikka, or a simple bhurji, making paneer at home ensures better flavor, texture, and freshness. Here's everything you need to know.
Why Make Paneer at Home?
Homemade paneer has several advantages over packaged versions.
Ingredients You'll Need
Step-by-Step Method
1. Heat the Milk
Pour the milk into a heavy-bottomed pan and heat it over medium flame. Stir occasionally to prevent it from sticking to the bottom. Bring it just to a gentle boil.
2. Add the Acid
Reduce the heat and slowly add the diluted lemon juice or vinegar while stirring gently. Within a minute or two, the milk will separate into greenish whey and white curds.
If the milk does not curdle completely, add a little more lemon juice or vinegar.
3. Stop the Cooking
Once the milk has fully curdled, turn off the heat. Add a few ice cubes or a little cold water to stop further cooking. This helps keep the paneer soft.
4. Strain the Curds
Place a muslin cloth or clean cotton cloth over a strainer and pour the curdled milk through it. Collect the curds and let the whey drain away.
5. Rinse the Paneer
Wash the curds under cold running water. This removes the sour taste of the lemon or vinegar and cools the paneer.
6. Remove Excess Water
Gather the cloth into a bundle and gently squeeze out the excess water. Do not press too hard, as this can make the paneer dry.
7. Set the Paneer
Place the wrapped paneer on a flat plate and keep a heavy object on top. Let it rest for 20 to 30 minutes for soft paneer or up to one hour for a firmer block.
8. Cut and Use
Unwrap the paneer and cut it into cubes or slices. It is now ready to use in your favorite recipes.
Tips for Soft Paneer Every Time
Common Mistakes to Avoid
Using Low-Fat Milk
Low-fat milk produces less paneer and often results in a dry, crumbly texture.
Adding Too Much Lemon Juice
Excess acid can make the paneer grainy and slightly sour.
Overheating the Curds
Once the milk has curdled, continued heating can make the paneer rubbery.
Pressing Too Hard
Applying excessive weight squeezes out too much moisture, making the paneer dense.
How to Store Homemade Paneer
Fresh paneer can be stored in an airtight container in the refrigerator for up to three days. To keep it soft, immerse it in clean water and change the water daily.
If frozen, wrap the paneer tightly before storing. Thaw it in the refrigerator and soak it in warm water for 10 to 15 minutes before cooking to restore some of its softness.
Can You Reuse the Leftover Whey?
Yes. The leftover whey is rich in nutrients and shouldn't go to waste. You can use it to:
Making paneer at home is surprisingly simple and delivers a freshness that packaged paneer rarely matches. With good-quality milk, the right amount of acid, and gentle handling, you can prepare soft, creamy paneer that elevates everything from rich curries to light salads. Once you try homemade paneer, it may become your preferred choice for everyday cooking.
Whether you're preparing paneer butter masala, palak paneer, tikka, or a simple bhurji, making paneer at home ensures better flavor, texture, and freshness. Here's everything you need to know.
Why Make Paneer at Home?
Homemade paneer has several advantages over packaged versions. - Softer and creamier texture
- No preservatives or additives
- Fresh taste and natural flavor
- Easy to customize the firmness
- Budget-friendly and simple to prepare
Ingredients You'll Need
- 1 litre full-fat milk
- 2 to 3 tablespoons lemon juice or white vinegar
- 2 tablespoons water (to dilute the lemon juice or vinegar)
- Ice cubes (optional, for a softer texture)
Step-by-Step Method
1. Heat the Milk
Pour the milk into a heavy-bottomed pan and heat it over medium flame. Stir occasionally to prevent it from sticking to the bottom. Bring it just to a gentle boil.2. Add the Acid
Reduce the heat and slowly add the diluted lemon juice or vinegar while stirring gently. Within a minute or two, the milk will separate into greenish whey and white curds. If the milk does not curdle completely, add a little more lemon juice or vinegar.
3. Stop the Cooking
Once the milk has fully curdled, turn off the heat. Add a few ice cubes or a little cold water to stop further cooking. This helps keep the paneer soft. 4. Strain the Curds
Place a muslin cloth or clean cotton cloth over a strainer and pour the curdled milk through it. Collect the curds and let the whey drain away. 5. Rinse the Paneer
Wash the curds under cold running water. This removes the sour taste of the lemon or vinegar and cools the paneer. 6. Remove Excess Water
Gather the cloth into a bundle and gently squeeze out the excess water. Do not press too hard, as this can make the paneer dry.You may also like
- Are Your Healthy Habits Backfiring? 7 Everyday Wellness Mistakes Experts Want You to Avoid
- Why Do I Feel Pressure in My Pelvic Area After Birth?
- Why No One Has Ever Fully Understood Lord Hanuman
- Why Horses and Other Animals Sleep Standing Up: The Evolutionary Threat Behind This Survival Instinct
- What Pets and Animals Actually Dream About: What Brain Science and REM Sleep Research Reveals
7. Set the Paneer
Place the wrapped paneer on a flat plate and keep a heavy object on top. Let it rest for 20 to 30 minutes for soft paneer or up to one hour for a firmer block. 8. Cut and Use
Unwrap the paneer and cut it into cubes or slices. It is now ready to use in your favorite recipes. Tips for Soft Paneer Every Time
- Always use full-fat milk for the best texture.
- Do not overboil the milk after it curdles.
- Add the acidic ingredient gradually instead of all at once.
- Rinse the paneer well to remove any sour flavor.
- Avoid pressing the paneer for too long unless you need firm cubes.
- Use the paneer while it is fresh for the softest texture.
Common Mistakes to Avoid
Using Low-Fat MilkLow-fat milk produces less paneer and often results in a dry, crumbly texture.
Adding Too Much Lemon Juice
Excess acid can make the paneer grainy and slightly sour.
Overheating the Curds
Once the milk has curdled, continued heating can make the paneer rubbery.
Pressing Too Hard
Applying excessive weight squeezes out too much moisture, making the paneer dense.
How to Store Homemade Paneer
Fresh paneer can be stored in an airtight container in the refrigerator for up to three days. To keep it soft, immerse it in clean water and change the water daily. If frozen, wrap the paneer tightly before storing. Thaw it in the refrigerator and soak it in warm water for 10 to 15 minutes before cooking to restore some of its softness.
Can You Reuse the Leftover Whey?
Yes. The leftover whey is rich in nutrients and shouldn't go to waste. You can use it to: - Knead dough for rotis
- Cook rice or lentils
- Add to soups
- Blend into smoothies
- Use in curries for extra nutrition
Making paneer at home is surprisingly simple and delivers a freshness that packaged paneer rarely matches. With good-quality milk, the right amount of acid, and gentle handling, you can prepare soft, creamy paneer that elevates everything from rich curries to light salads. Once you try homemade paneer, it may become your preferred choice for everyday cooking.






Loving Newspoint? Download the app now