Transform An Old Suitcase Into A Vintage Side Table In Just A Few Steps

Instead of letting an old suitcase collect dust in the attic or a forgotten corner of your home, transform it into a DIY vintage suitcase side table that is both practical and eye-catching. This simple upcycling project combines timeless charm with everyday functionality, giving you a unique piece of furniture that also doubles as hidden storage. Whether you love vintage interiors, sustainable living, or creative DIY projects , this makeover is an easy way to add personality to your living room or bedroom without spending a fortune.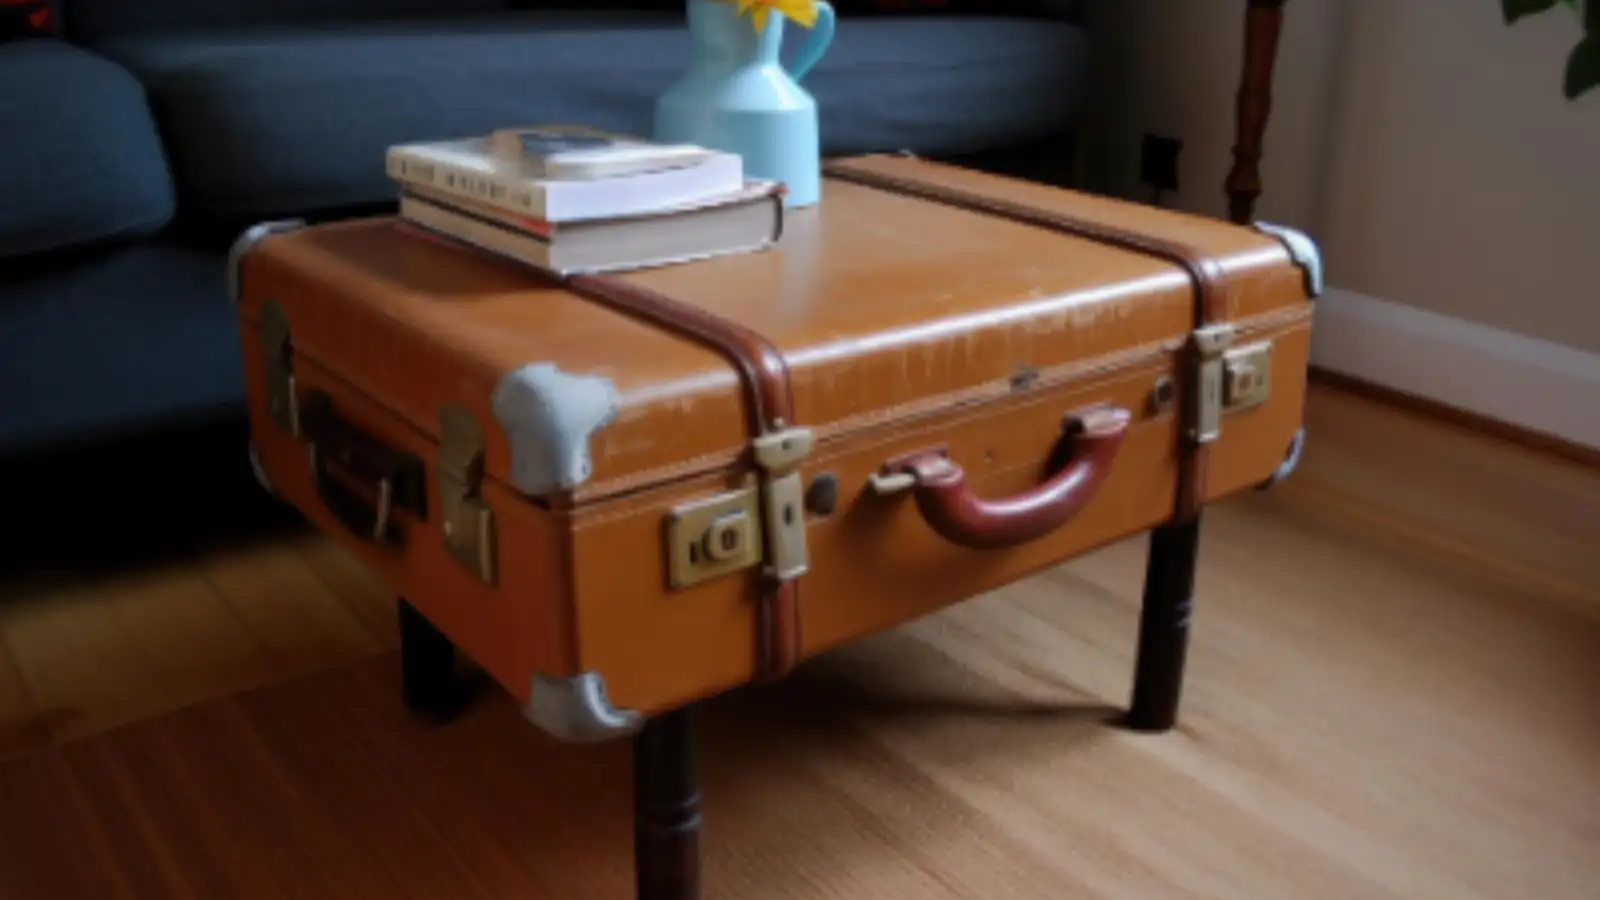
Why Turn An Old Suitcase Into A Side Table?
Repurposing vintage luggage is an excellent way to reduce waste while creating furniture that stands out. Unlike mass-produced tables, an upcycled suitcase offers a nostalgic look and built-in storage for books, blankets, magazines, chargers, or other household essentials.
Some of the biggest benefits include:
Things You'll Need Before You Start
Gather these materials before beginning your DIY project:
Step 1: Clean The Suitcase Thoroughly
Begin by giving the suitcase a complete clean. Remove dust, dirt, and stains using a damp cloth with mild soap.
If the suitcase has a musty smell, leave it open in a well-ventilated area for a day. For stubborn odours, sprinkle baking soda inside, leave it overnight, then vacuum it out before use.
A clean suitcase not only looks better but also makes the finished table more pleasant to use.
Step 2: Inspect And Repair Any Loose Parts
Before adding the legs, examine the suitcase carefully.
Check that the hinges, handles, locks, and metal fittings are secure. Tighten any loose screws and repair damaged hardware if necessary. Hard-shell suitcases generally provide a sturdier base than soft luggage, making them a better choice for this project.
Step 3: Mark The Position For The Furniture Legs
Place the suitcase upside down on a flat, stable surface.
Using a measuring tape and pencil, carefully mark where each furniture leg will be attached. Ensure that all four marks are evenly spaced so the table remains balanced after assembly.
Taking accurate measurements at this stage will prevent wobbling later.
Step 4: Attach The Legs Securely
Fix the mounting plates using screws before attaching the furniture legs.
Once all four legs are installed, check that the table stands evenly on the floor. Adjustable legs are especially useful if your flooring is slightly uneven.
Make sure every screw is tightened properly for added stability.
Step 5: Add The Finishing Touches
Now it's time to personalise your creation.
Lightly sand rough edges for a smoother finish if required. You can also:
These small upgrades can make your suitcase side table look professionally finished.
How To Style Your Vintage Suitcase Side Table
Once complete, place the table beside a sofa, armchair, or bed.
Decorate the top with:
Inside the suitcase, store items such as books, blankets, extra cushions, charging cables, seasonal décor, or bedroom essentials to keep your space clutter-free.
Creative Ways To Customise Your Suitcase Table
Want to make your furniture even more unique? Try these ideas:
Tips To Keep Your Upcycled Side Table Looking Great
To ensure your furniture lasts longer:
Proper care will help preserve both its vintage appearance and structural strength.
A DIY vintage suitcase side table is a creative way to breathe new life into forgotten luggage while adding character to your home. It's an easy weekend project that requires only a few tools but delivers a stylish piece of furniture with built-in storage. Whether you prefer rustic, retro, or modern interiors, this simple upcycling idea proves that old suitcases can become functional décor that's as practical as it is beautiful.
Why Turn An Old Suitcase Into A Side Table?
Repurposing vintage luggage is an excellent way to reduce waste while creating furniture that stands out. Unlike mass-produced tables, an upcycled suitcase offers a nostalgic look and built-in storage for books, blankets, magazines, chargers, or other household essentials.
Some of the biggest benefits include:
- Gives unused luggage a practical purpose
- Adds vintage charm to any room
- Provides hidden storage space
- Supports eco-friendly and sustainable living
- Affordable alternative to buying new furniture
Things You'll Need Before You Start
Gather these materials before beginning your DIY project:
- An old hard-shell or vintage suitcase
- Four furniture legs
- Mounting plates
- Screws
- Screwdriver
- Measuring tape
- Pencil
- Sandpaper
- Wood polish (optional)
- Clear varnish or protective coating (optional)
Step 1: Clean The Suitcase Thoroughly
Begin by giving the suitcase a complete clean. Remove dust, dirt, and stains using a damp cloth with mild soap.
If the suitcase has a musty smell, leave it open in a well-ventilated area for a day. For stubborn odours, sprinkle baking soda inside, leave it overnight, then vacuum it out before use.
A clean suitcase not only looks better but also makes the finished table more pleasant to use.
Step 2: Inspect And Repair Any Loose Parts
Before adding the legs, examine the suitcase carefully.
Check that the hinges, handles, locks, and metal fittings are secure. Tighten any loose screws and repair damaged hardware if necessary. Hard-shell suitcases generally provide a sturdier base than soft luggage, making them a better choice for this project.
Step 3: Mark The Position For The Furniture Legs
Place the suitcase upside down on a flat, stable surface.
Using a measuring tape and pencil, carefully mark where each furniture leg will be attached. Ensure that all four marks are evenly spaced so the table remains balanced after assembly.
Taking accurate measurements at this stage will prevent wobbling later.
Step 4: Attach The Legs Securely
Fix the mounting plates using screws before attaching the furniture legs.
Once all four legs are installed, check that the table stands evenly on the floor. Adjustable legs are especially useful if your flooring is slightly uneven.
Make sure every screw is tightened properly for added stability.
Step 5: Add The Finishing Touches
Now it's time to personalise your creation.
Lightly sand rough edges for a smoother finish if required. You can also:
- Apply wood polish for extra shine
- Seal the surface with a protective varnish
- Replace worn-out metal latches
- Add decorative corner protectors
- Refresh the interior with colourful wallpaper or fabric lining
These small upgrades can make your suitcase side table look professionally finished.
How To Style Your Vintage Suitcase Side Table
Once complete, place the table beside a sofa, armchair, or bed.
Decorate the top with:
- A table lamp
- Scented candles
- Indoor plants
- Photo frames
- Small decorative pieces
Inside the suitcase, store items such as books, blankets, extra cushions, charging cables, seasonal décor, or bedroom essentials to keep your space clutter-free.
Creative Ways To Customise Your Suitcase Table
Want to make your furniture even more unique? Try these ideas:
Build A Two-Tier Table
Stack two vintage suitcases together before attaching the legs to create additional storage.Use Hairpin Legs
Hairpin legs instantly give the table a trendy industrial-style appearance.You may also like
- Scenic monsoon bus trips in India: Beautiful routes that should be on every traveller's bucket list
- Happy Friendship Day 2026: Top 50 Wishes, Messages, Quotes, Images, Facebook & Whatsapp status
- High cholesterol: Cholesterol deposited in the heart's arteries will melt away like wax; just include these 3 foods in your diet
- Today is the ITR deadline, but will the last date be extended? The Income Tax Department has given a clear answer..
- SSY Calculation: Invest ₹50 daily to build a fund of ₹8 lakh; secure your daughter's future with this Post Office scheme..
Install Rolling Casters
Replace traditional legs with wheels for a mobile side table that's easy to move around.Decorate The Interior
Line the inside with patterned wallpaper, colourful fabric, or decorative paper for a stylish surprise every time you open it.Create A Children's Bedside Table
A small vintage suitcase can become an adorable bedside table for a child's room while offering handy toy storage.Tips To Keep Your Upcycled Side Table Looking Great
To ensure your furniture lasts longer:
- Avoid placing extremely heavy items on top.
- Keep the suitcase away from damp or humid areas.
- Wipe the surface regularly with a soft cloth.
- Tighten screws occasionally if the table is moved frequently.
Proper care will help preserve both its vintage appearance and structural strength.
A DIY vintage suitcase side table is a creative way to breathe new life into forgotten luggage while adding character to your home. It's an easy weekend project that requires only a few tools but delivers a stylish piece of furniture with built-in storage. Whether you prefer rustic, retro, or modern interiors, this simple upcycling idea proves that old suitcases can become functional décor that's as practical as it is beautiful.






Loving Newspoint? Download the app now